How to set up Google Search Console from scratch: choose and verify a property, submit a sitemap, read the Performance and Page indexing reports, and export your data.
SEO & AI Search
Last updated: October 2026.
Google Search Console is free, and getting started takes about ten minutes of work plus a few days of waiting. You add your site as a property, prove you own it, submit a sitemap, and then spend most of your time in four places: the Performance report (what people searched and clicked), the Page indexing report (which pages Google has and hasn’t indexed), the URL Inspection tool (what Google sees on one page), and Core Web Vitals (how fast your pages feel to real visitors).
Maybe you have just launched a site. Maybe someone has handed you access to a property and said “keep an eye on our SEO”. Either way, you open the dashboard and find a wall of charts, warnings and strange status names. This guide walks through it in the order you actually need it, with the exact menu labels, and tells you honestly what Search Console can’t show you.
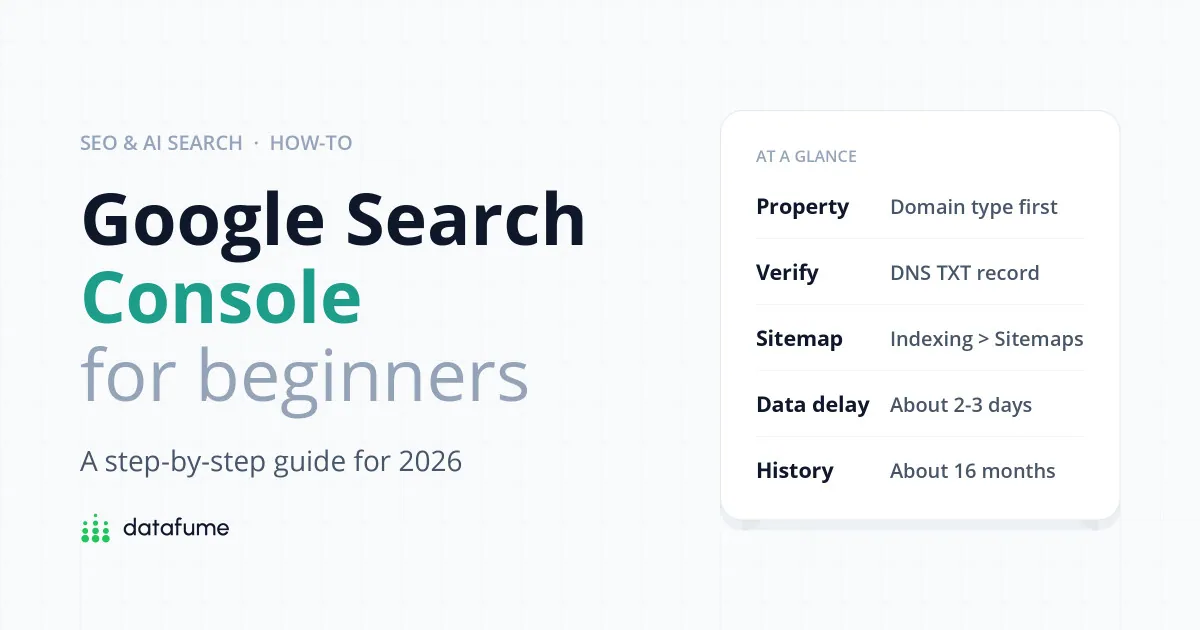
Short answer: Add a Domain property if you can edit your DNS (it covers every version of your site), verify it with a DNS TXT record, submit your sitemap under Indexing > Sitemaps, and come back in two or three days. Then check Performance > Search results weekly and Indexing > Pages monthly. If you already have an older URL-prefix property, keep it: your history may live there.
Setup
Search Console in four steps
About ten minutes of work, then a short wait.
Every report name, button label and limit below was checked against Google’s own Search Console Help pages and the Search Central blog on 18 October 2026. Google’s help pages don’t always spell out the left-hand menu path, and the interface changes more often than the documentation, so where the two use different wording we say so. We did not run a long-term test on a new site for this piece; the property mix-up described below is a real case from a site we look after.
A “property” is simply the thing Search Console reports on. Before you add one, you need to choose between two types, and this choice matters more than it looks.
| Domain property | URL-prefix property | |
|---|---|---|
| You type | example.com | https://www.example.com/ |
| Covers | All subdomains (www, shop, blog), http and https | Only URLs that start with exactly that prefix |
| Verification | DNS record only | Several methods (file, tag, Analytics, Tag Manager, DNS) |
| Best for | Most site owners who can edit DNS | No DNS access, or tracking one section separately |
To add one:
Here’s a situation we ran into on a site we help manage. Years ago, someone had added the site as a URL-prefix property (https://www. version). Recently, a new Domain property was added because it’s the type Google recommends. The new Domain property looked almost empty, while the old URL-prefix property still showed more than a year of clicks and queries. It looked as if the data had vanished.
Nothing was lost. Each property is its own bucket, and Google’s help page says data collection for a property starts when it’s added. The history stayed with the old property. The fix was simple: keep both. Use the URL-prefix property for long-term comparisons until the Domain property has built up its own history, and use the Domain property for everything new.
The same mix-up happens when someone adds http:// instead of https://, or the non-www address when the site redirects to www. A URL-prefix property for the wrong version will show close to nothing, because no traffic lands on those URLs.
Common mistake: Deleting an old URL-prefix property because the new Domain property “replaces” it. Search Console keeps Performance data for about 16 months, so the old property may hold history you can’t get anywhere else. Export what you need before you remove anything, or simply keep both.
One more reason to have a Domain property: Google’s branded queries filter, which splits your search traffic into branded and non-branded queries, only works on top-level properties, according to Google’s announcement. It also needs a site with enough search volume, so small sites may not see it.
Google needs proof that you control the site before it shows you any data. The methods available, as listed in Google’s verification help page, are:
For a Domain property, the steps are:
Google says a manually added DNS record can take two or three days to be visible. If it fails, wait a day and try again rather than adding the record twice.
Don’t delete the TXT record, file or tag after verification succeeds. Search Console re-checks periodically, and if the token disappears your access expires after a grace period. To give a colleague access without sharing your login, use Settings > Users and permissions.
A sitemap is a file that lists the pages you want Google to know about. You don’t strictly need to submit one, but it helps Google find new pages faster and gives you a useful check on how many of them get indexed.
If you use WordPress, you almost certainly have one already: WordPress creates /wp-sitemap.xml by default, and Yoast SEO replaces it with /sitemap_index.xml. Open the address in your browser first to make sure it loads.
You need owner permission to submit a sitemap. If you only have user access, ask an owner, or add a Sitemap: line to your robots.txt file, which Google also reads. While you’re in robots.txt, it’s worth a quick look if you have recently added rules to block AI crawlers: a careless wildcard rule can block Googlebot too.
“Couldn’t fetch” on a brand-new sitemap is common and often clears on its own within a day or two. If it persists, use URL Inspection’s Test live URL on the sitemap address to see whether Google can reach it.
This is the report you’ll open most. Go to Performance > Search results. Across the top are four metric boxes that you can switch on and off to change the chart.
Worked example
The four numbers, explained
One page, one month, made-up figures.
Definitions: Google Search Console Help, October 2026.
A few details that trip beginners up, all from Google’s own definitions:
Below the chart, tabs break the data down by Queries, Pages, Countries, Devices, Search appearance and Dates. Clicking a row in any tab filters the whole report by it. For example, click a page in the Pages tab, then switch to Queries to see which searches brought people to that one page.
To add a filter yourself, use the filter button in the bar above the chart (labelled + Add filter in the interface; some help pages still call it + New), choose Query or Page, and pick “containing”, “not containing” or “exact”. Filtering out your brand name is a quick way to see whether people find you for topics, not just by name.
The table then shows both periods side by side, with the difference. Compare like with like: a 28-day period against the same 28 days last year avoids seasonal noise. Since December 2025 you can also switch the chart between daily, weekly and monthly views, which smooths out weekend dips.
Go to Indexing > Pages (the help pages call it the Page indexing report). The chart splits your known URLs into Indexed and Not indexed, and the table underneath lists the reasons pages aren’t indexed.
Don’t panic at a large “Not indexed” number. Plenty of entries are normal: redirects, pages you’ve marked noindex, tag archives and old URLs that now return 404. The three statuses beginners worry about most are below.
Page indexing
Three statuses, decoded
Source: Google Search Console Help, Page indexing report, October 2026.
Google fetched the page and decided not to add it to the index, at least for now. Google’s help page says it may be indexed later and there’s no need to resubmit it. In practice this status often lands on thin, near-duplicate or low-value pages. Ask yourself honestly whether the page deserves to rank; if not, improve it, merge it into a stronger page, or noindex it.
Google has found the URL (through a link or your sitemap) but hasn’t crawled it. Google’s explanation is that crawling it at that moment was expected to overload your site, so it rescheduled. On a small site, this is usually about priority: pages with few internal links pointing to them get crawled last. Link to them from relevant pages and make sure your hosting isn’t painfully slow.
Google thinks this page duplicates another one, and since you haven’t said which version is the main one, it chose for you. Use URL Inspection on the URL and compare User-declared canonical with Google-selected canonical. If Google’s choice is fine (for example, it picked the version without tracking parameters), do nothing. If not, set a canonical tag; Yoast and most SEO plugins add one automatically.
When you’ve fixed every URL with a given problem, open the issue and click Validate Fix. Google says validation typically takes up to about two weeks.
The URL Inspection tool answers the question “what does Google know about this page?” Paste any full URL from your property into the search bar at the very top of Search Console and press Enter.
Be realistic about that last button. Google says requesting indexing doesn’t guarantee the page will be indexed, that asking repeatedly won’t speed things up, and that crawling can take anywhere from a few days to a few weeks. There’s a daily quota per property, and Google doesn’t publish the exact number. For more than a handful of pages, rely on your sitemap instead.
“URL is on Google” means the page is eligible to appear, not that it ranks for anything. Google’s own help page suggests searching for the URL to confirm.
Under Experience > Core Web Vitals you’ll find separate reports for mobile and desktop, based on real visits from Chrome users (Google’s CrUX data), not lab tests. Pages are grouped, and each group is rated Good, Need improvement or Poor on three measures:
| Metric | What it measures | Good | Poor |
|---|---|---|---|
| LCP (Largest Contentful Paint) | How quickly the main content appears | 2.5 s or less | Over 4 s |
| INP (Interaction to Next Paint) | How quickly the page responds to taps and clicks | 200 ms or less | Over 500 ms |
| CLS (Cumulative Layout Shift) | How much the layout jumps around | 0.1 or less | Over 0.25 |
If you see “No data available”, your site probably doesn’t get enough Chrome traffic for Google to report on yet. That’s common for small or new sites and is not a penalty. After fixing an issue, the report lets you start a 28-day tracking period to confirm the fix.
Click Links in the left menu. Under External links you’ll see Top linked pages, Top linking sites and Top linking text; under Internal links, your most-linked pages from within your own site.
Treat it as a sample. Google says the report isn’t a complete list of every link, and each table is capped at 1,000 rows. It’s still handy for two things: spotting which of your pages attract links, and finding important pages that have almost no internal links (often the same pages stuck in “Discovered – currently not indexed”).
Most reports have an export button at the top right. It offers Google Sheets, Excel or CSV, and exports what you’re looking at, with your filters applied. The catch: exports are capped at 1,000 rows, although the totals stay accurate. (The Links report is the exception, with up to 100,000 rows from its main export.)
For ongoing reporting, connect Search Console to Data Studio, Google’s free dashboard tool, which was called Looker Studio until 2026:
Site and URL figures won’t match exactly, because Google aggregates them differently. That surprises people the first time, so note it on your dashboard. If you’re weighing up dashboard tools, our Data Studio (Looker Studio) vs Tableau Public comparison covers the trade-offs. Bigger sites that hit row limits can use the Search Console API (50,000 rows per day per data type, per Google) or the bulk export to BigQuery, which needs a Google Cloud account.
Because the Performance report only goes back about 16 months, set up a monthly export (or a Data Studio report backed by BigQuery) early if you’ll ever want year-on-year comparisons over longer periods.
Search Console is excellent at one thing: how Google Search sees and shows your site. It is not a full analytics tool, and reading it as one leads to bad decisions.
The same skill applies to any dashboard: know where the numbers come from before you act on them. Our piece on data literacy explains why that matters. And before paying for an SEO suite, remember Search Console’s data comes straight from Google and costs nothing; our guide to what SEO tools really cost helps you decide whether you need more.
Yes. There’s no paid tier. You only need a Google account and the ability to verify that you control the site.
Google says performance data is normally available within two to three days and that a newly created site can take up to a week. Core Web Vitals data may never appear if your site has too little Chrome traffic.
Use a Domain property if you can add a DNS record, because it covers every subdomain and both http and https. Keep any older URL-prefix property too, since it holds your earlier history. Use URL-prefix on its own only if you can’t touch DNS or you want to track one section of a site.
They measure different things. Search Console counts clicks from Google Search only, removes duplicates and bots, and uses California time. Analytics counts sessions from every source and depends on its tag loading. Use Search Console for search visibility and Analytics for what happens on your site.
No. It asks Google to crawl the page sooner, but indexing isn’t guaranteed and there’s a daily limit. Use it once for new or substantially updated pages and rely on your sitemap for the rest.
Partly. AI Overview and AI Mode clicks and impressions are included in the normal Performance report, and Google’s generative AI performance views show impressions by page, country, device and date. They don’t show which queries triggered them.
Next steps: Once Search Console is running, read what GEO is and how AI search differs, check whether you should block AI crawlers in robots.txt, see what paid SEO tools really cost, and if you want to build a dashboard from your data, compare Data Studio and Tableau Public.
Keep reading
 SEO & AI SearchYoast vs Rank Math in 2026: Free Features, Real Renewal Prices and a Clear Verdict4 min read
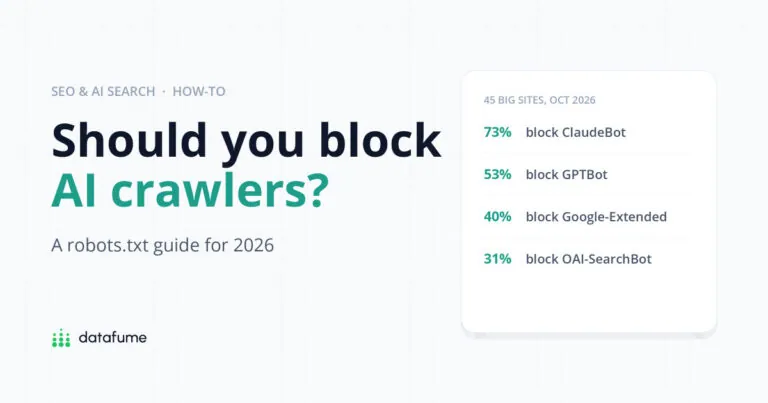 SEO & AI SearchShould You Block AI Crawlers? A robots.txt Guide for GPTBot, ClaudeBot and More (2026)12 min read
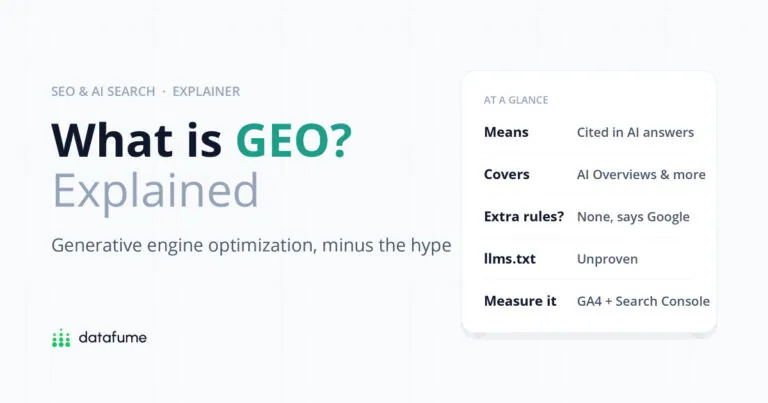 SEO & AI SearchWhat Is GEO? Generative Engine Optimization Explained (2026)12 min read
Short, free guides that take you from zero to your first real analysis. No sign-up needed.

Join our newsletter for new data guides, tool reviews and free resources.
By subscribing you agree to our Privacy Policy and consent to receive emails from DataFume.
© 2026 DataFume. All rights reserved.